Product: AMT Gastroguss 'The Worlds Best Pan' Pressure Cooker
ADVANTAGES OF THE AMT GASTROGUSS 'THE WORLD'S BEST PAN' PRESSURE COOKER
In a regular pot the largest part of the essential vitamins and minerals remain in the water, which you pour away. You practically pour away the healthy components of your meal and eat the leftovers! In your new pressure cooker all of the healthy components stay in your meal due to the fact that you only need very little water and your meals are cooked in 1 ⁄ 3 of the time.
So you save time, energy, essential vitamins, minerals, nutrients and because you can also use your new pressure cooker as a normal pot with a glass lid, you also save space.
Safety information
General
1. Before using the pressure cooker for the first time, please read these instructions carefully and keep them in a safe place for future reference.
2.
People not familiar
with the use of this pressure cooker should not attempt to use it without
reading this manual first.
3.
Never leave the
pressure cooker unattended while it is still under pressure.
4.
Never leave children
unsupervised with the pressure cooker while it is in use.
5. Before every use make sure the pressure regulation valve and the sealing ring is clean. The pin should be checked for free motion (against spring pressure) using a pointed object. Particularly ensure that the safety valve on the underside of the lid can be moved.
During cooking
1. During the cooking process pressure will build up in the cooker, it is therefore important to close the lid tight and read the notes on use and safety in this manual. Improper use of the pressure cooker can lead to damage of the pressure cooker or even physical injury.
2. The pressure cooker must never be used without liquid; otherwise it may be damaged.
3.
The minimum amount of
liquid should be approx. 350 ml, regardless of the amount of food to be
cooked!
4.
The pressure cooker
should be filled at least 1 ⁄ 3 incl. the food to be cooked.
5.
The pressure cooker
must never be filled more than 2 ⁄ 3 of its volume, or if cooking food
which swells up or produces foam (e.g. rice or pulses) not more than
half-full. These foods should first be brought to the boil in the
uncovered pressure cooker and then skimmed before the lid is closed.
6.
The pressure cooker
may only be placed on the appropriate stove for its size. When using full
power to heat it, always keep it under observation.
7.
When using the cooker
on an electric stove, the diameter of the hotplate must be smaller or
equal to the diameter of the pot.
8.
When using the cooker
on a gas stove, the flame ring must not exceed the base diameter. A too
large gas flame may damage the handles.
9.
When using the cooker
on a ceramic stove, make sure the bottom of the pot is clean and dry.
10. This pressure cooker with its pressure cooker lid should only be
used to the intended purpose of fast cooking. Without its pressure lid,
with or without using the glass lid, it may also be used a regular
cooking pot.
11. Please never use it in a microwave.
12. In combination with the pressure cooker lid, the pot may never
be used for roasting or frying using oil.
13. Please pay attention to the notes on cooking specific food products under the section “Cooking tips” in this manual.
Description

Pressure regulation valve (fig. 1)
Use the pressure regulation valve to set the desired cooking intensity.
Position I: for gentle cooking (0.7 bar / 70 kPa)
Position II: for fast cooking (1.2 bar / 120 kPa)
Position : for gradual release of pressure
Position 0: for removing and cleaning the valve
Maximum permitted pressure for this pressure cooker: 2.7 bar / 270 kPa
Safety valve (fig. 2a/b)
While pressure in the cooker is building up, the red pressure indicator (fig. 2b) is visible and the cooker is locked (never attempt to open it using force). If the pressure indicator is not visible (fig. 2a), the cooker is no longer under pressure and can be opened. If for any unexpected reason the pressure regulator valve (fig. 1) does not release steam as it should, this valve will open in accordance with the prescribed pressure levels.
Patented one-hand opening/closing system (fig. 4a/b)
Open and remove the lid with only one hand and put it back on in any position. Warning: Allow for the pressure to be released—do not attempt to force open!
Lid with sealing ring (fig. 5)
Sealing rings are subject to wear-and-tear, and must be replaced when necessary. Important: Use only original replacement parts
Safety window (fig. 6)
An additional safety element is the safety window in the rim of the lid. If there is excessive pressure in the cooker, the sealing ring forces its way out through this window, and the steam can escape.
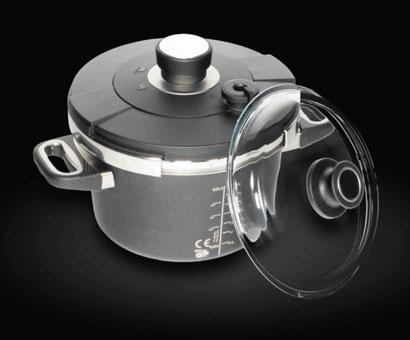
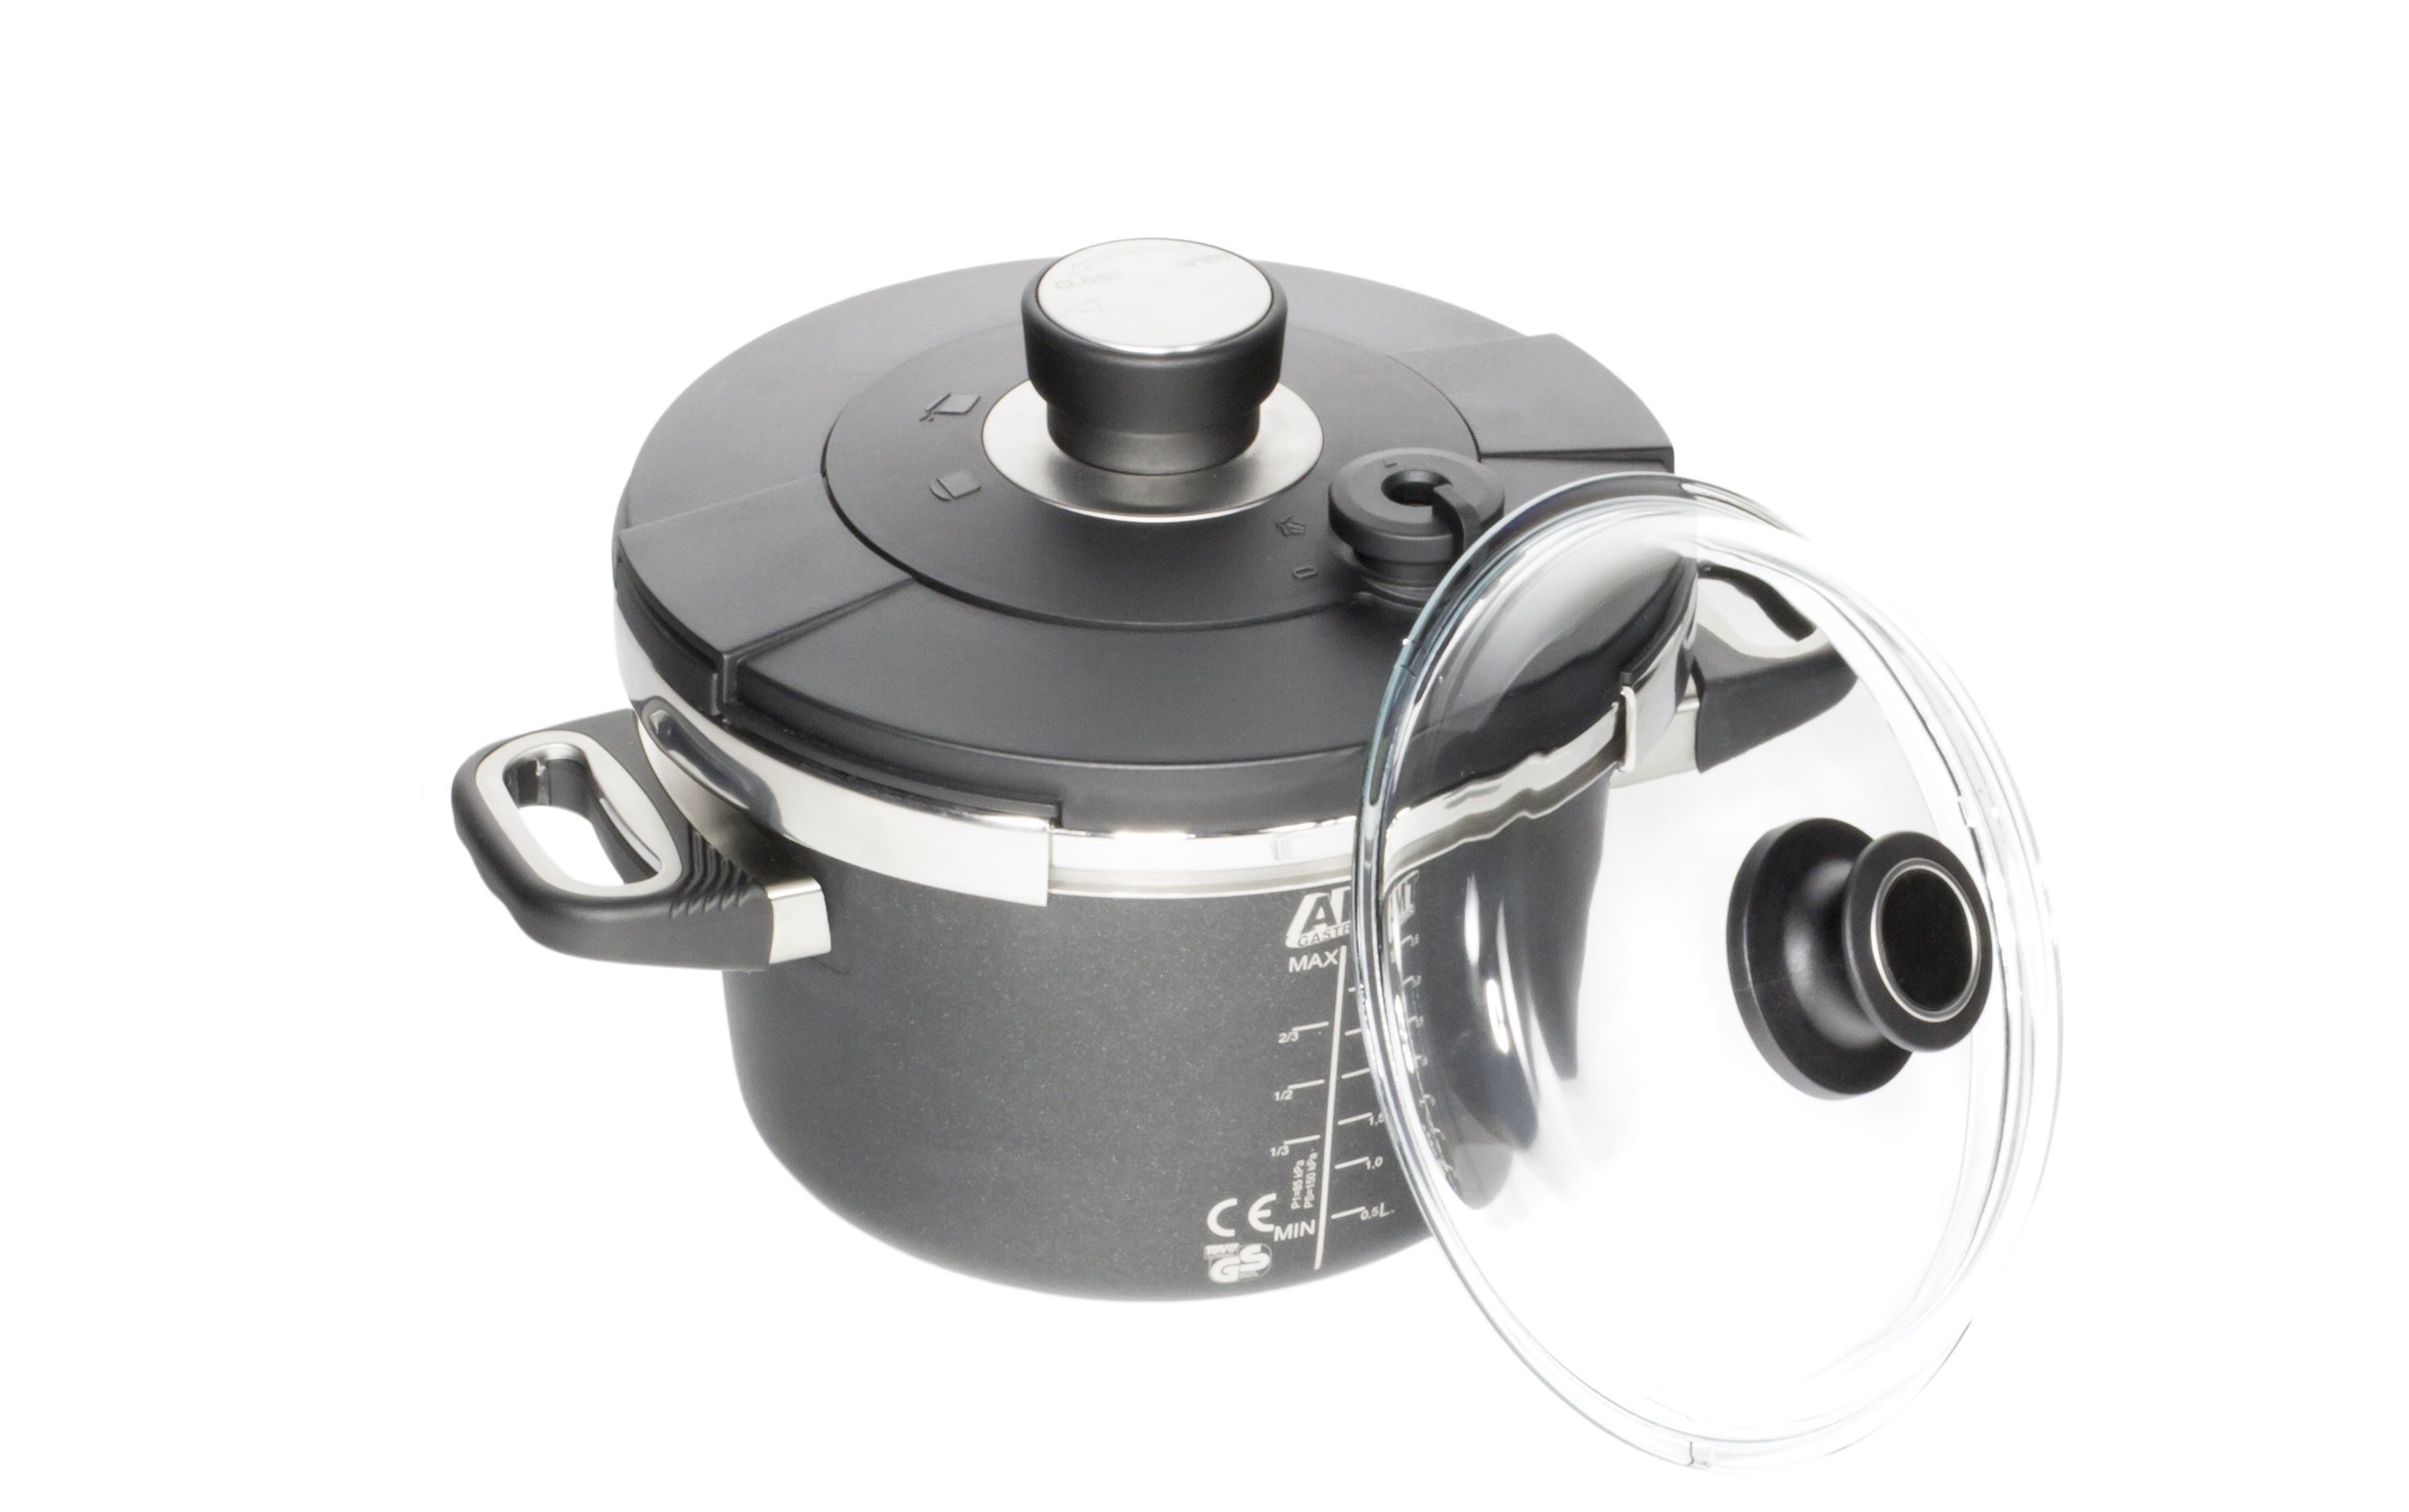
Cooker pot (fig. 7)
This pressure cooker—with its attractive, timeless design—is made of high-quality cast aluminium. Without its pressure lid, with or without using the glass lid, it may also be used a regular cooking pot.
Using the pressure cooker
Opening
Turn the lid knob in the center of the pressure cooker lid clockwise to unlock the clamps securing the lid to the pot.
Adding food
Now add the food product to be cooked. If the food tends to swell or produce foam, ensure the cooker is only half full. Otherwise the cooker can be filled up to 2 ⁄ 3 of its capacity. The indicated capacities always include the food and liquids. Remember to always add some liquid (water or stock) to the pot as it is needed to build up pressure while cooking. WARNING: Always add adequate liquid. NEVER let the pressure cooker “cook dry”. Please check that there is adequate space between the food to be cooked and the lid with safety valves.
Caution: The base of the cooker should not be attacked by salt, you should only add salt to water that is already boiling, and stir it gently.
Closing
Place the lid on the pot. Turn the lid knob in the center of the pressure cooker lid counter-clockwise to lock the clamps securing the lid to the pot.
With the new one-hand opening/closing system you can put the lid on the pot in any position.
Setting the pressure level
Select the desired cooking level with the help of the pressure regulation valve:
Position I:
Gentle cooking level at approx. 113 °C for steaming and stewing more delicate foods such as vegetables, fish, fruit, …
Position II:
Fast cooking level at approx. 120 °C for cooking and braising e.g. meat, soups, stews,
Place the pressure cooker with preset cooking setting on the correct heat source. Set stove to maximum setting
Pressure cooking begins
The red pin on the safety valve will become visible with increasing pressure. From this point on, the pot cannot be opened until the pressure has been relieved.
Once steams starts venting through the pressure regulation valve. Set the stove to minimum setting. The boiling will commence. ( see cooking table further)
Depending on how full the cooker is, it will take several minutes until the preset cooking stage has been reached. This is the case as soon as steam starts to escape permanently from the pressure regulation valve. Only at this point should the heat source be turned down to a lower stage.
Cooking time elapsed
Switch off stove! Slowly vent steam step-by-step, or wait as per recipe until the pressure is relieved. Do not directly switch from position II to position _. First turn from position II to position I, wait a couple of seconds and then switch to position _. You may directly switch from position I to position _ when cooking on setting I.
WARNING: The escaping steam is very hot—protect yourself from burns and scalding by keeping your face, body and arms away from the steam.
Open pressure cooker
Once steam ceases to escape through the valve and the pressure indicator has dropped down, you may open the pressure cooker. The lid can now be removed.
WARNING: Never use force to open the lid.
Cleaning and maintenance
Clean your pressure cooker after every use with hot water and dishwashing detergent. Please do not use any abrasive cleaning agents, steel wool, caustic cleaners, or any cleaner that contain chlorine. The lid should always be cleaned by hand.
Cleaning and replacing the sealing ring
To clean the sealing ring, rinse it under hot running water and dry it. As soon as the sealing ring becomes hard (when it begins to change its colour into brown), it should be replaced.
Cleaning the safety valve
The safety valve only needs—along with cleaning the lid—to be run through and rinsed with running water.
Cleaning the pressure regulator valve
Remove the plastic top. To do this, press the valve down and turn it completely to position 0. The valve can now be lifted off and removed upward from its catch. Clean by running under water and reinsert into catch. Please ensure the grooves on the valve are put into the appropriate holders. You should store the pressure cooker after cleaning and drying in a clean, dry and protected environment. Do not put the lid on and do not lock it, but store it with the lid upside down on the top of the pot, for example.
Frequently asked questions:
When it takes a long time to come to the boiling point:
- The heat source is not hot enough
- Turn up the heat source to maximum
If the red pin on the safety valve does not rise, and steam does not escape from the valve during cooking:
- This is perfectly normal in the first few minutes (pressure build-up)
If this persists, check whether:
- The heat source is hot enough; if not, turn it up
- There is sufficient liquid in the cooker
- The pressure regulator valve is set at
- The pressure cooker lid is properly shut
- The sealing ring or the rim of the cooker is damaged
When the red pin on the safety valve has risen during cooking and steam is not escaping from the pressure regulator valve:
- Hold the pressure cooker under cold running water to release the pressure
- Open the pressure cooker
- Clean the pressure regulator valve and the safety valve
When the steam escapes from all around the lid, check:
- Whether the lid is properly closed
- Whether the sealing ring is properly fitted
- The condition of the sealing ring (if necessary, replace it)
- Cleanliness of the lid, the safety valve and the pressure regulation valve
- That the rim of the cooker is in good condition
When the lid cannot be opened:
- Check whether the safety valve has dropped completely; if not, release the pressure
- If necessary, cool the pressure cooker off under cold running water
When the food product being cooked is either not fully cooked or overcooked, check:
- The cooking time (too short or too long)
- The stove output
- That the pressure regulation valve is correctly set
- The amount of liquid
When the handles on the cooker become loose:
- Retighten screws using screwdriver
When the food is burned on in the cooker:
- Leave your pressure cooker to soak for a good time before cleaning it
- Do not use any caustic cleaners, or cleaners containing chlorine
When one of the safety devices is triggered:
- Turn off the heat source
- Allow the cooker to cool down
- Open it
- Check the pressure regulator valve, the safety valve and the sealing ring and clean them
Cooking tips
Different cooking times will also depend on the quality and the size of the food to be cooked. For this reason the times given below are only approximates.
It is not necessary to defrost deep-frozen foods in advance. It is sufficient to lengthen the cooking times slightly.
Instructions in recipes and cooking time tables can only be guidelines. After a time you will accumulate enough experience yourself to know exactly how long you must cook your food.
Soups and stews with braised meat
Where cooking times of the different ingredients do not vary much (e.g. for meat and vegetables), the meat is browned and then the vegetables are added with the water. When cooking times vary widely, interrupt the meat cooking and add the vegetables and water for the last few minutes.
In this way, the meat and the vegetables will finish cooking at about the same time.
For soups and stews you should note that foods that tend to foam up must be brought to boil in an uncovered pressure cooker, and should be skimmed off before you close the cooker. When cooking is finished, please let the steam escape slowly, or leave the pressure cooker to cool down.
Vegetables
The finer the vegetables are cut up, the shorter their cooking time will be.
On the other hand, if you prefer them “crunchy”, their cooking time is shorter. The more vegetables you cook, the longer the cooking time will be.
Suggestion: it is better to undercook—extra cooking is always possible.
Meat
Meat is brought to the boil in the uncovered pressure cooker. The necessary liquid is then topped up on deglazing. Pieces too large to fit into the cooker should be cut up and browned individually, then laid over one another to complete cooking.
Fish (fresh)
Cook with adequate liquid, according to amount. Since fish stock is extremely sticky, the lid should be removed as soon as the pressure indicator has completely disappeared.
Frozen food
The long times needed for defrosting shrink to minutes, but still depend on type and amount of the food to be defrosted. Defrosting in the pressure cooker preserves the vitamins, minerals and flavours of your food.
Cooking Time Table
|
Soups |
Duration |
Level |
|
Bean Soup |
20 min |
II |
|
Pea Soup (not soaked) |
20–25 min |
II |
|
Vegetable Soup |
4–8 min |
II |
|
Oxtail Soup |
10–15 min |
II |
|
Potato Soup |
5–6 min |
II |
|
Beef Stew |
20–25 min |
II |
|
Minestrone |
8–10 min |
II |
|
Rice Soup |
6–8 min |
II |
|
Boiled Chicken |
25–35 min |
II |
|
Tomato Soup with Rice |
6–8 min |
II |
|
|
||
|
Stews |
Duration |
Level |
|
Cabbage Stews |
15 min |
II |
|
Lentil (soaked) |
13–15 min |
II |
|
Serbian Beef Stew |
8–10 min |
II |
|
|
||
|
Fish |
Duration |
Level |
|
Steamed Fish with Potatoes |
6–8 min |
I |
|
Fish in White Wine Sauce with Potatoes |
6–8 min |
I |
|
Cod |
4–6 min |
I |
|
|
||
|
Vegetables |
Duration |
Level |
|
Cauliflower |
3–7 min |
I |
|
Peas, Green |
3–5 min |
I |
March 27, 2020